CHROME:
Our professor gave us a watch to shoot for this product. There were many challenges associated with this product. First since a large part of the surface is chrome, we had to set up are lighting/ set so that there you could see the texture of the chrome and not have the photographer or other things in the room reflected in the surface. Since it is a watch we also needed to be able to see the face and the time. The band is also shiny black so we had to be really careful about fingerprints. Our first way to control some of these challenges was to use a light tent (basically a big square white box that has a slit in the front panel that you can put your camera lens through to get your shot. Light tents are used quite frequently for product photograpy. Lighting the set was pretty easy.We basically used one light behind the tent and raised it high enough so that it shone through both the top and back of the tent. The biggest challenge after that was figuring out how to get our product to stay and keep it in focus in the small space. I ended up using a wide angle lens (18-55 mm) and leaning way in the to the box to get some of the shots...
First round
I wanted to get a picture in the box. According to my prof this is the weakest of my shots because it is not very dramatic. I was more worried about making sure you could read the face of the watch....

Trying to get more creative with this one ... I bought mirrored glass pieces and I love how they look blue in this. I had it around a block that is wrapped in the lace to get the watch to and up.
Added the box in this one for a little flare. I liked how the glass pieces and the fabric draw your attention to the watch and how the glass is also reflected in the box.

I wanted a close up of the watch and again threw in the glass pieces for affect. I loved how the black and white fabric gives it an elegent feel. In hindsite I would have cropped it so that you can not see the box in the background ...

I bought gears esp to use with this shoot. I really love all the shapes and colors of it. the most difficult part was getting them to stay where I wanted them ..... but its a fun shot and i like it a lot.
CHROME RESHOOT
After looking at my above shots with my professor, (he gave me a B+) I knew I needed to get a bit more creative and tighten all my shots. I had the chance yesterday to reshoot and here are my favorites..
I realized I never took a picture of the watch itself. A lot of the other students (and a lot of product ads) show the product and its reflection. Took this one on a piece of glass with a piece of foil underneath it. We ended up using sticky wax (which is a life sacer) to get it to stand up ...
I used ever piece of mirrored glass I had and piled it around the watch for this one. I love how it gives a shimmery look to the whole thing and how the watch is just a little bit off center
I left the glass and added a necklace that I was given to me by my great aunt. I love all the colors and how the beads are reflected in the top (which helps to highlight the shiny quality of the band) -- and yes I tightened it way up. I was leaning so far into the light tent that I almost pushed it off the table
A redo with the box. this one feels simpler and cleaner to me and I love how the red is reflected in the mirrored glass...
and last but not least -- my new shot with gears. I had some larger ones that I wanted to use and again I tried to bring this one in tighter so that the watch is the primary focus. I love the different colors and shapes of the gears and how they are reflected in the class ....
TOOL:
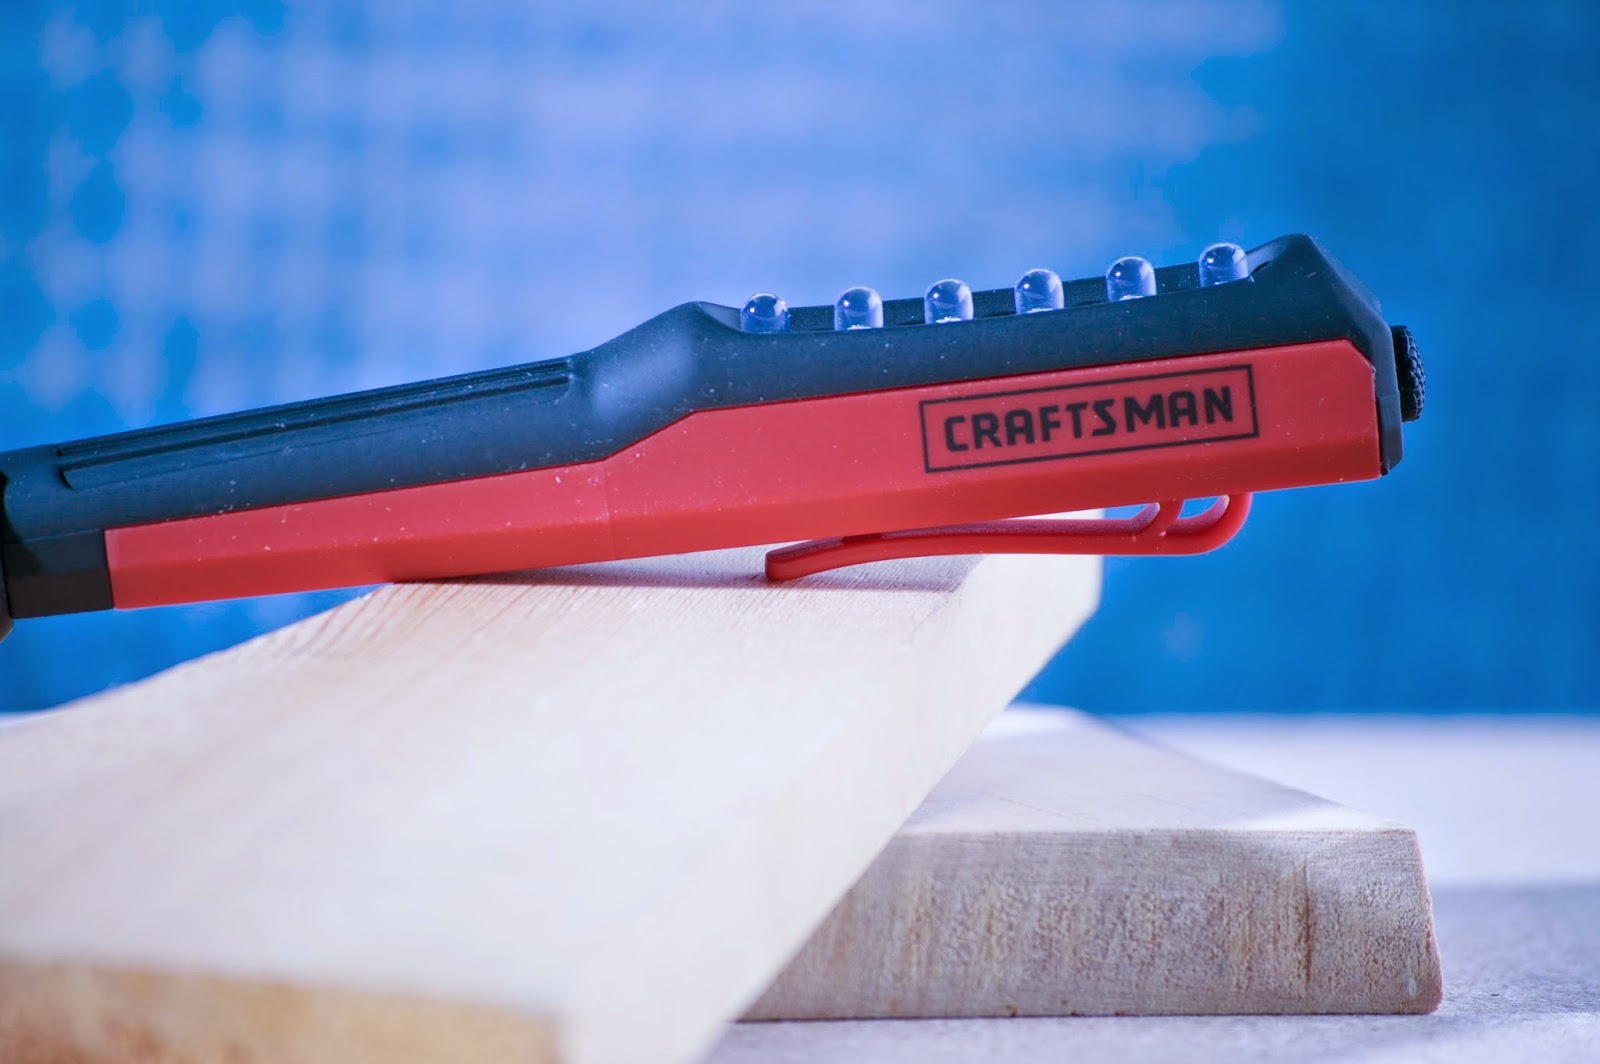
The last product I had to shoot is a tool. For this we had a mini LED light which presented a whole different set of challenges. Not only is it small but we needed to make sure we could see the logo and try to set it up in a way that was interesting and showed the tools functionality. I had a lot of problems with this and am really looking forward to being able to shoot this again .... We tried to do some light painting for this but my shots did not come out. Light painting is basically having little very little light on the scene (we just had the light itself on) using a tripod and a longer shutter speed and having someone use a small light ( like a cell phone or flashlight) to light the parts (such as the logo) that you need to highlight. The shots I have are without the light being on ...
I loved the blue backgroun on this and my prof liked how sharp the logo is -- unfortunately I cut off the bottom of the tool -- and would have liked a little less wood in the forground.
The base of the tool is magnetic so I wanted to get a shot of it standing up. The light is actually on in this picture but you can't tell. We liked the idea but it really does not show the full uses of the tool . The lighting is pretty good and the logo is clear, but again I cut off the top --
I was going for the idea that this was laying on a work bench among a bunch of differnt things -- and though the concept was good -- I cut off the left side but I really liked the chain and all the different textures .
I love the red tool box as the background of this and the angle was good -- again I just should have backed up a smidge to get the left side where I had the chain attached.
And this is my favorite shot in the set -- this is actually paper used for wrapping presents etc. It looked so much like sawdust and was just fun . It would have been a little better if I could have had the light on but ....
As I said I am looking forward to the reshoot of this one. I want to try having someone hold the light and am defnitely going to try light painting again. So though there have been some frustrating shoots (this was probably the worst) I have learned so much and will just add it to the knowledge I am getting in all these classes.
Thanks for sharing my photos with me. My next post about products will have reshoots of the tool, the moisturizing cream and the liquor bottle.


